Do you want to migrate a website to another hosting? it’s a good thing! But the biggest problem, if you do not migrate it properly, it can harm your site SEO. As a result, your site ranking will be reduced!
Also, when you move the website from one server (host) to another, there is a chance of data loss or downtime.
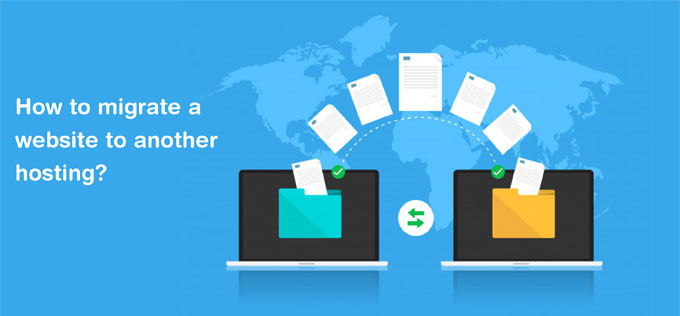
But don’t worry, in this guide I will show you how to migrate a WordPress site from Old Hosting to New Hosting without downtime.
When should a WordPress site be transferred to New Hosting
There can be many reasons to change web hosting! But the biggest reason, if your website is very slow even after optimizing the speed of the WordPress site, then you need to migrate a website to another hosting which can handle your increasing traffic.
Here I have listed the best WordPress web hosting that you can use.
Let’s start now how to transfer WordPress site to New Hosting…
How to move website in New Host
There are many ways to change web hosting but here I will tell you about two ways – one with the plugin and the other without a plugin.
First, we will migrate the content to New Host. After this, the domains will replace the nameservers.
Method 1: Move the website to New Web Hosting using the plugin
Step1:
Install the plugin on your site
I will use the UpdateraftPlus backup plugin. Install it on your old hosting. Then take a complete backup of your site and restore the backup file to the new host.
Here’s how to do a step-by-step guide?
After installing the plugin, click Settings >> UpdateraftPlus Backup >> Settings and click on Google Drive.
Now scroll down and click on Authenticate with Google.
Sign in with your Gmail account in which you want to make a backup. Now, UpdateraftPlus will access your Google account, so click on the Allow button.
A new page will open again. Click on the complete setup.
When you backup your WordPress site, you can send the backup file to remote storage with one click.
Go to the Current Status tab and click the Backup Now button.
Now your backup will start. Now that we have a backup file, let us restore it to the new host.
Step 2:
How to Restore Backup on New Host
Install WordPress on your new web hosting. Then install and Activate the UpdateraftPlus plugin. And Authenticate with your Gmail (the old hosted Gmail you had Authenticate in the previous step).
Then click on Settings >> UpdateraftPlus Backup >> Existing Backup then click Refresh. After this click on the Restore button.
A new popup will open. Select all the checkboxes and hit the restore button.
Now, the Restore process will begin. congratulation! You have migrate a website to another hosting.
Method 2: Move website to new web hosting without plugin
This method is also very easy. All you have to do is import your content to the new host.
Step 1:
Export your file from Old Host
In your old host, click Tools >> Export and select All content. Then hit Download Export file.
After the file is downloaded, you import it to your new host.
Step 2:
Upload Old Host File to New Host
Now, install WordPress on your new web hosting. Then click on the Tools >> Import option. Here, click on Install Now below WordPress. Then click on Run Importer.
In the next step, select your file to upload, then click the Upload file and import button.
After the file is imported, it will ask you if you want to create a new user for the post or import the content with the existing user. It depends on you what you want to do.
You have successfully imported your content from the old host to the new one.
When you visit your site and your image breaks are visible, upload the “upload” folder of your old host to the new host.
Login to your old host’s cPanel and then click on File Manager.
Click the root folder (public_html) >> WP-Content and compress the uploads folder. Then download it to your computer.
Now login to your new host’s cPanel. Then go to the Root folder (public_html) >> WP-Content and upload the ” compress uploads ” folder in the same directory and then extract it.
If it asks for permission to overwrite, just click OK. This step will fix your image breaking problem.
Step 3:
Backup and Restore Database
I would recommend the updraft plus backup plugin to backup and restore the WordPress database. Because of this, a new blogger can also easily back up and restore the database.
Just click on Settings >> updraft plus and click on the Backup Now button.
A new popup will open, you must first check the box ” Include your database in the backup (…) “. Then click on the Backup Now button.
This will start backing up your database. Click on the database and download it to your computer.
Note: Do not rename your database file. Otherwise, it will not work.
Now log into your new host and install and activate the updraft plus backup plugin.
After the plugin is activated, click Settings >> updraft plus. On this page, click on Upload backup files and upload your database file which you downloaded in the previous step.
After uploading the file, click on Restore.
A new popup will open, check the Database box on this page and click on the Restore button.
This will start restoring the database on your new host. Click on the Restore button again.
Just! You have restored the database to your new web hosting.
Update your Domain Name Servers (DNS)
You have moved your WordPress database and files to New Web Hosting, but your domain is still the point on old web hosting.
To migrate a website to the new hosting, you have to change your Domain Name Servers. If you are using a domain registrar like GoDaddy, you will need to update the nameservers by going to the Domain management section.
After changing the Name Servers, it may take 4 – 48 hours to Propagate on the new hosting.
Since your old host and new host have the same content, your WordPress migration will occur without downtime.
How to Fix Mixed Content Error after Switching from HTTP to HTTPS
After installing SSL, there may be a Mixed Content Error on your site. To fix this error, you need to edit all the URLs in your database which are still on HTTP.
For this, you can use the Better Search Replace plugin. After installing and activating the plugin, click Tools >> Better Search Replace.
Here in the ‘ Search for ‘ box you have to enter your website URL with Http and in the ‘ Replace with ‘ box enter your website URL with https. Then select all your database tables and click on the Run Search / Replace button.
Now, this plugin will replace all your HTTP URLs with HTTPS.
Note: Run as dry run? Keep the option uncheck.
If this article has proved helpful to you, then do not forget to share it!
If you have to migrate a website to another hosting then you can contact us because our company provide you WordPress website migration.

